
 Ooh, this post is long overdue! I think I'll stop putting dates on my DIY posts because it saddens me to see how much time has passed since the last one!
 For this clutch project, I used 2 tutorials to guide me:
- This tutorial by Swellmaybe - for pattern making.
- This no-sewing video tutorial by BeautySplurge - for the no-sewing instructions. However, unlike her I did not use foam for structure.
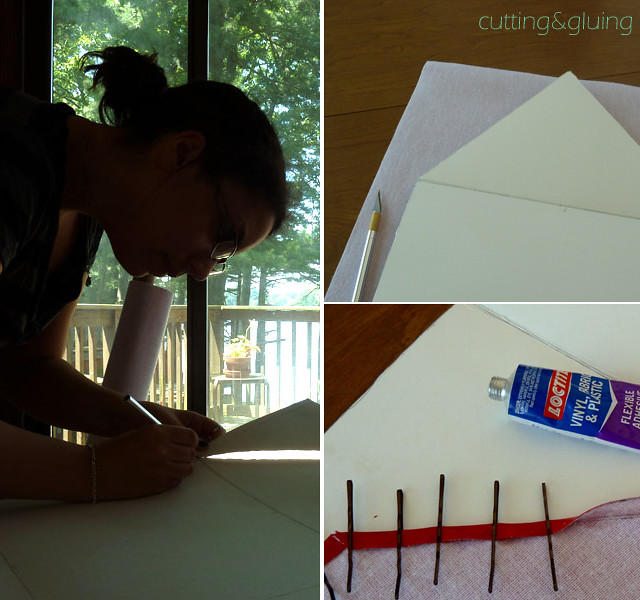 Instructions are simple: make a pattern using cardboard, cut the fabric according to pattern, sew/glue the right edges, and add a button. Since I can't sew and, more importantly, don't own a sewing machine, I opted for fabric glue. For us non-sewers, BeautySplurge advises to cut the fabric 1/2 inch bigger than the pattern to glue the fold.
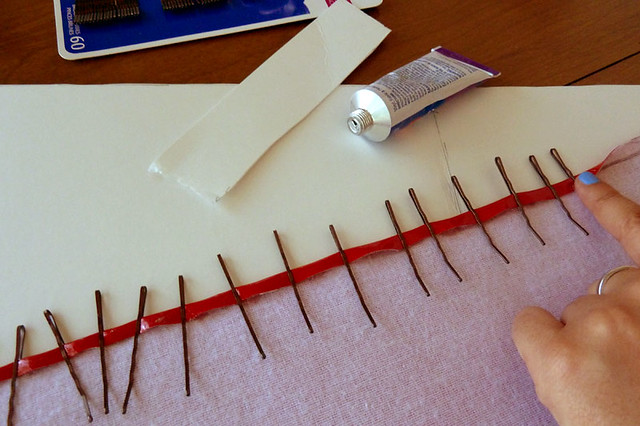 The only problem with the glue & bobby pins technique is that it marked little dents along the edges of the clutch. It might have to do with the fabric I used. The upside is that they're pretty evenly spaced and could look like it was done on purpose. Will have to rethink about this for next time!
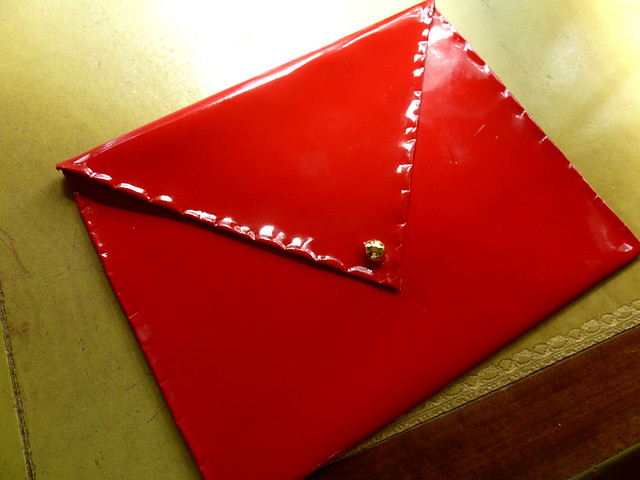 And here's the end result! :)
No comments:
Post a Comment